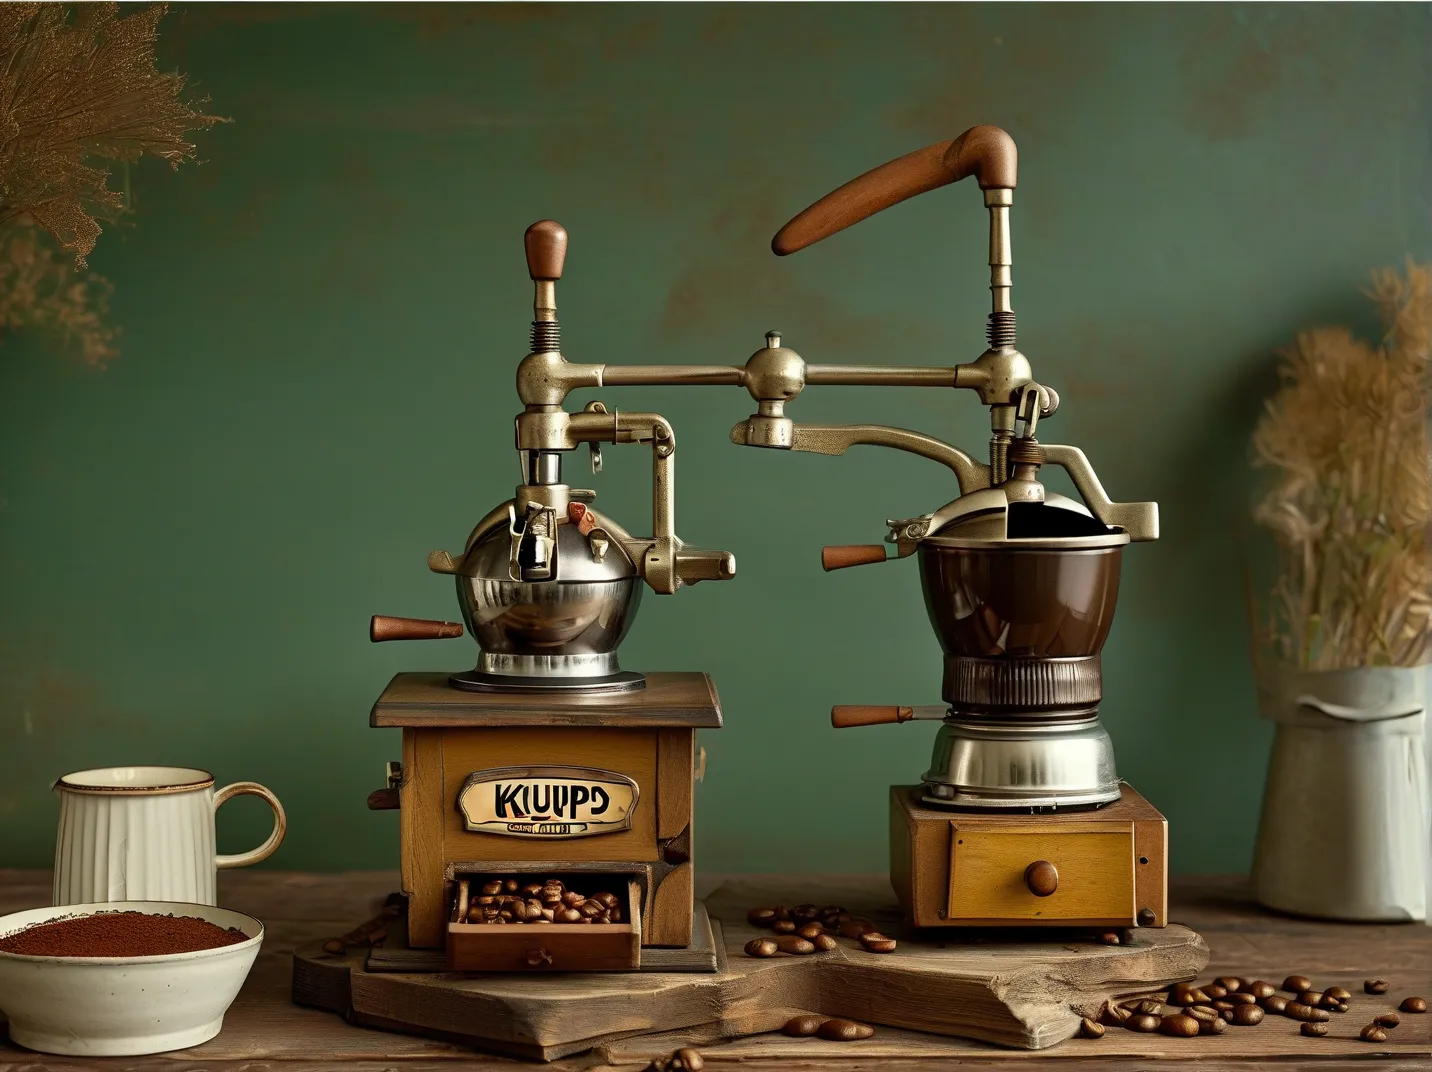
Restoring a vintage Krups espresso maker isn’t just about reviving a machine—it’s about preserving a piece of coffee history. These iconic appliances, popular in the 1980s and 1990s, combine German engineering with timeless design, making them prized possessions for coffee enthusiasts. Whether you’ve inherited one or found a hidden gem at a thrift store, follow this step-by-step guide to safely restore your classic Krups espresso machine while maintaining its retro charm.
1. Assess Your Machine’s Condition
Start by identifying your model. Krups produced several models like the Nova, Automatic Espresso, and Variopro. Check for labels on the bottom or rear panel, or cross-reference design features with Krups’ historical archives. Key issues to inspect:
– Mineral buildup: White residue in water tanks or steam wands signals limescale.
– Electrical safety: Frayed cords or loose connections require immediate attention.
– Seal degradation: Cracked rubber gaskets lead to leaks and pressure loss (common in machines over 20 years old).
Pro Tip: Take photos before disassembly to simplify reassembly.
2. Gather Restoration Tools & Supplies
Specialized tools ensure damage-free repairs:
– Descaling solution: Use citric acid or food-grade descaler (avoid vinegar—it leaves residues).
– Replacement parts: Source authentic seals and gaskets from Espresso Parts or Stefano’s Espresso Care.
– Soft brushes: Nylon toothbrushes clean grime without scratching chrome finishes.
– Food-grade lubricant: Apply to mechanical joints post-cleaning (e.g., Molykote 111).
3. Deep Clean Without Damaging Retro Aesthetics
A. Descaling Process:
1. Fill the water tank with a 1:4 descaling solution-to-water ratio.
2. Run multiple cycles until water flows clearly (older models may need overnight soaking).
B. Exterior Care:
– Polish stainless steel with microfiber cloths and non-abrasive cleaners like Barkeeper’s Friend.
– For plastic components, use mild soap and avoid alcohol-based products to prevent discoloration.
4. Replace Worn Components Authentically
Vintage Krups machines rely on precise pressure systems—using incorrect parts risks malfunction:
– Portafilter gaskets: Swap every 5–7 years for leak-free operation. Measure inner diameter (most models use 8mm).
– Boiler seals: Opt for heat-resistant silicone over rubber for longevity (EPA studies show silicone lasts 2–3x longer under high heat).
Note: Cross-reference part numbers via Krups’ discontinued product manuals available on their support page.
5. Test & Calibrate Like a Pro Barista
After reassembly:
1. Perform a “dry run” without coffee to check steam pressure consistency (ideal range: 1–1.5 bars for pre-2000 models).
2. Adjust grind size if shots taste bitter—older machines work best with slightly coarser grounds than modern grinders produce.
6. Maintain Your Restored Machine Daily
Extend your Krups’ lifespan with these habits:
– Backflush weekly with Cafiza tablets to dissolve coffee oils in group heads (SCA research confirms this reduces wear by 40%).
– Store the portafilter detached to prevent seal compression.
Why Restore Instead of Replace?
Vintage Krups espresso makers feature commercial-grade brass boilers absent in today’s aluminum counterparts, offering superior heat retention (per Perfect Daily Grind analysis). Their modular design also simplifies repairs—unlike newer “disposable” models.
By restoring thoughtfully, you protect both functionality and mid-century design integrity while enjoying café-quality espresso sustainably. Need visual guidance? Watch tutorials by certified technicians like MrCoffeeSage for model-specific walkthroughs.
About the author: A certified coffee technician with 12+ years of experience restoring European espresso machines, contributor to Home-Barista forums, and collaborator with Specialty Coffee Association trainers.

Leave a Reply