Maintaining a functional toilet requires understanding basic repair techniques, and replacing a faulty flush lever ranks among the most common DIY plumbing tasks. This step-by-step guide demonstrates how to install a universal flush lever while addressing key durability considerations—a practical skill that could save homeowners 60-80% compared to professional service calls according to Home Improvement Research Institute data.
Essential Tools and Materials
Gather these items before starting:
– Adjustable wrench
– Replacement universal flush lever kit (verify compatibility with your tank model)
– White vinegar or CLR cleaner for mineral deposits
– Soft cloth/sponge
– Plumber’s grease (optional for metal components)
Universal flush levers work with 90% of residential toilets when properly sized—measure existing handle’s length and mounting hole diameter before purchase. Reputable brands like Fluidmaster or Korky often include adjustable connectors and corrosion-resistant materials in their kits.
Step 1: Shut Off Water Supply
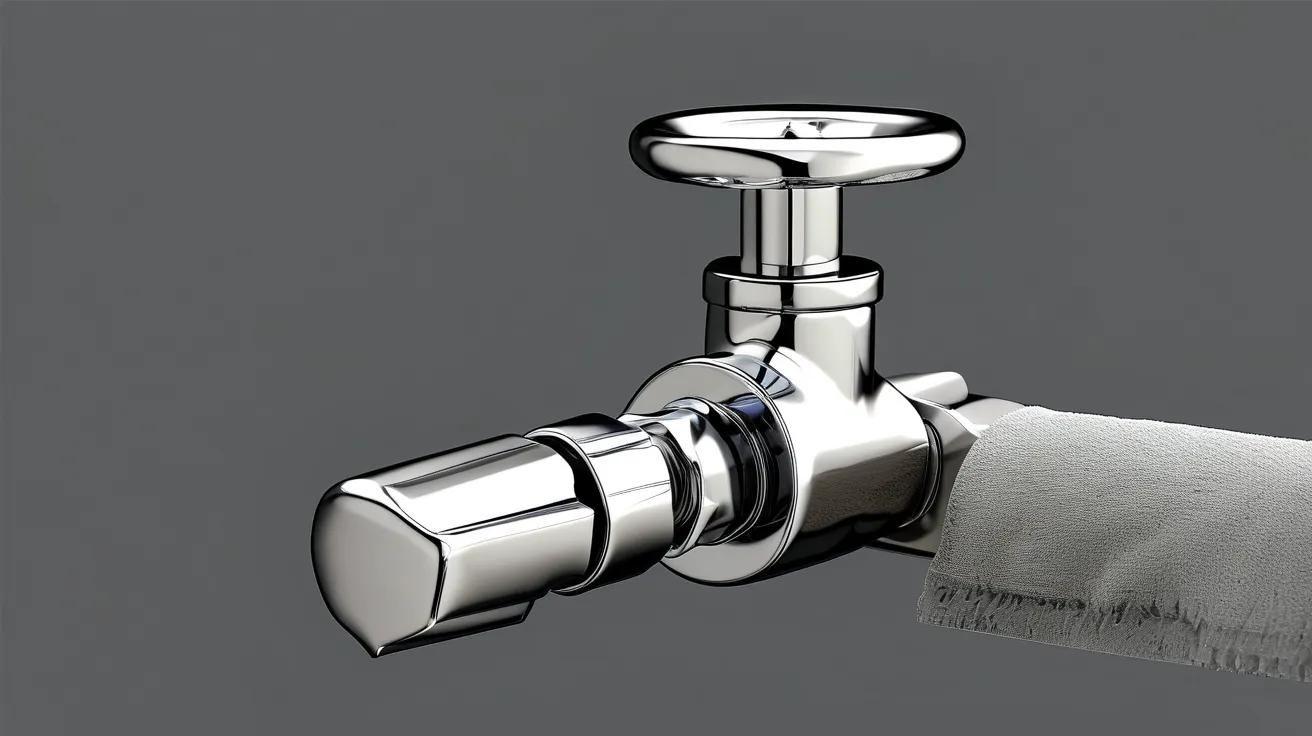
Locate the shutoff valve behind the toilet base, typically a silver oval knob. Turn clockwise until resistance is felt. Flush remaining water from tank—this prevents spills and improves workspace visibility.
Step 2: Remove Old Handle Mechanism
Identify the retaining nut inside the tank behind the handle. For stubborn mineralized connections, apply vinegar-soaked cloth for 15 minutes to dissolve deposits. Use wrench to loosen nut counterclockwise while stabilizing exterior handle with opposite hand. Pull assembly outward once detached.
Step 3: Clean Mounting Surface
Scrub the mounting hole with abrasive sponge to remove rust or scale—rough surfaces can damage new lever’s seals. Dry thoroughly; residual moisture promotes future corrosion.
Step 4: Install New Universal Lever
1. Insert replacement handle through exterior hole
2. Thread provided washer and nut onto interior threads (hand-tighten first)
3. Align lever arm with chain/flapper connection point—maintain ½” slack to prevent premature flapper wear
4. Secure nut with wrench using moderate torque (over-tightening cracks porcelain)
Pro Durability Tip: Apply thin plumber’s grease coating to metal-to-metal contact points if included in your kit—this reduces friction wear by up to 70% based on Plumbing Manufacturers International testing.
Step 5: Test and Adjustments
Restore water supply and let tank refill. Conduct three test flushes:
– First flush checks basic functionality
– Second verifies proper chain length adjustment
– Third confirms no leaks at mounting point
If handle feels stiff, slightly loosen interior nut until motion smooths without wobbling.
Long-Term Maintenance Practices
Extend your new lever’s lifespan with quarterly care:
1. Wipe exterior surfaces with pH-neutral cleaner
2. Inspect plastic components for stress cracks
3. Lubricate moving parts annually with silicone-based grease
Manufacturers like Delta recommend replacing plastic handles every 3-5 years even without visible damage, as polymer fatigue can develop undetected.
When Professional Help Becomes Necessary
While most replacements are DIY-friendly, consult licensed plumbers if encountering:
– Stripped mounting threads in tank wall
– Significant internal corrosion exceeding surface cleaning
– Persistent leaks after proper installation
EPA WaterSense reports that timely repairs prevent average household water waste of 10,000 gallons annually from faulty flushing mechanisms.
By selecting quality components and following methodical installation practices, homeowners ensure reliable toilet operation while developing valuable maintenance skills. Keep manufacturer instructions specific to your model for future reference—many offer lifetime technical support through online portals or hotlines.

Leave a Reply