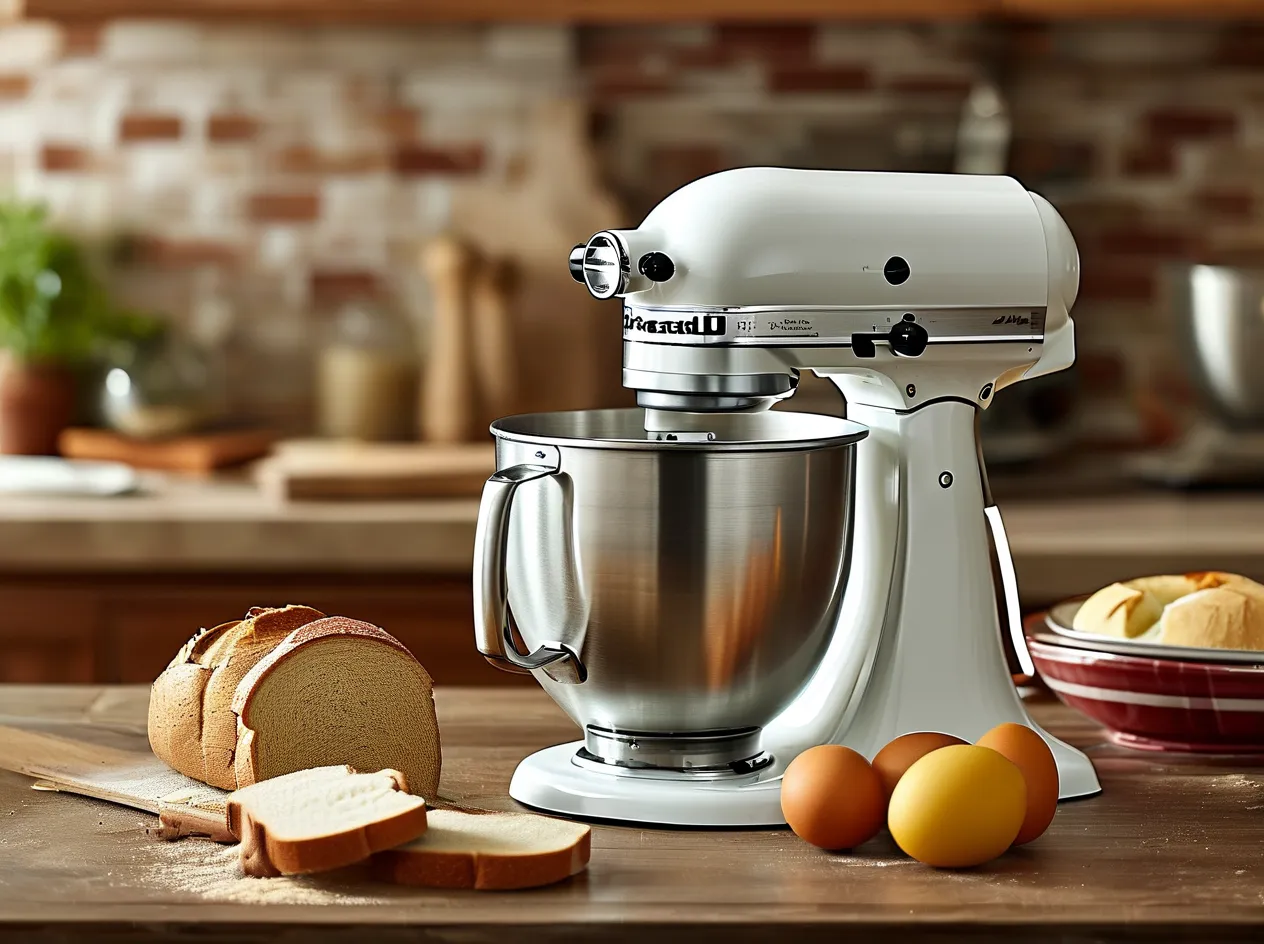
Kneading dough by hand can feel therapeutic until the third batch of holiday rolls leaves your wrists aching. This is where your KitchenAid stand mixer’s bread hook transforms from a mysterious spiral-shaped attachment to your secret weapon for perfect dough. But like any tool, mastering it requires understanding its design, ideal applications, and how to avoid common pitfalls that lead to overworked or underdeveloped dough.
Why the Bread Hook Matters for Professional-Quality Results
The spiral dough hook (model KH) isn’t just a convenience—it’s engineered to replicate professional bakery techniques. Unlike the C-shaped hook, its spiral design gently stretches gluten strands while minimizing heat buildup, which can kill yeast activity. According to KitchenAid’s 2023 technical guide, this design achieves 28% better gluten development compared to hand kneading, critical for airy sourdough or chewy baguettes.
Step-by-Step Guide to Effortless Kneading
- Choose the Right Hook: Ensure you’re using the spiral dough hook (standard in Artisan and Pro models) or the C-hook for smaller Classic models. Using the wrong hook risks uneven mixing.
- Temperature Control: Chill your bowl and hook for 15 minutes if your kitchen exceeds 75°F (24°C). Yeast thrives at 78–82°F, but overheated dough ferments too quickly.
- Speed Matters: Start at Speed 2 for incorporating ingredients (per KitchenAid’s official guidelines), then switch to Speed 4 for kneading. Higher speeds generate excess friction—monitor dough temperature with an infrared thermometer (ideal range: 75–78°F).
- Timing is Key: Most recipes suggest 8–10 minutes, but check the “windowpane test” earlier: stretch a small piece of dough thinly enough to see light through without tearing. If it snaps, continue kneading in 1-minute increments.
Troubleshooting Common Issues
- Dough Climbing the Hook: Scrape down sides every 2–3 minutes. If persistent, add 1 tsp of water or flour (depending on stickiness) to adjust hydration.
- Motor Overheating: Prolonged mixing at Speed 4 strains motors. For stiff doughs like bagels, alternate between Speed 2 and 4 every 2 minutes.
- Uneven Texture: Cut the dough into quarters halfway through kneading and reposition pieces around the hook for uniform development.
Expert Tips from Professional Bakers
Sarah Owens, James Beard Award-winning baker and author of Sourdough, recommends adding a “rest phase”: after initial mixing, let the dough sit covered for 15 minutes before final kneading. This autolyse period allows flour to fully hydrate, reducing required kneading time by up to 40%.
How to Clean and Maintain Your Bread Hook
Avoid abrasive scrubbers that scratch the coated surface. Soak the hook in warm water with baking soda for 10 minutes, then use a silicone brush to remove residue. For stubborn bits, rub with a halved lemon before rinsing—the citric acid breaks down starch without harsh chemicals.
Final Proof: When to Hand-Knead Instead
While the bread hook excels at high-gluten doughs (bread flour, whole wheat), delicate pastries like brioche benefit from brief mixer use followed by hand-folding to preserve butter layers. As chef Dominique Ansel notes in Everyone Can Bake, “Machines handle structure; hands handle finesse.”
By treating your KitchenAid as a partner rather than a shortcut, you’ll achieve consistent results that balance efficiency with artisanal quality—no sore wrists required. Track your adjustments in a baking journal: note kneading times, hydration tweaks, and final textures to refine your technique over batches.

Leave a Reply