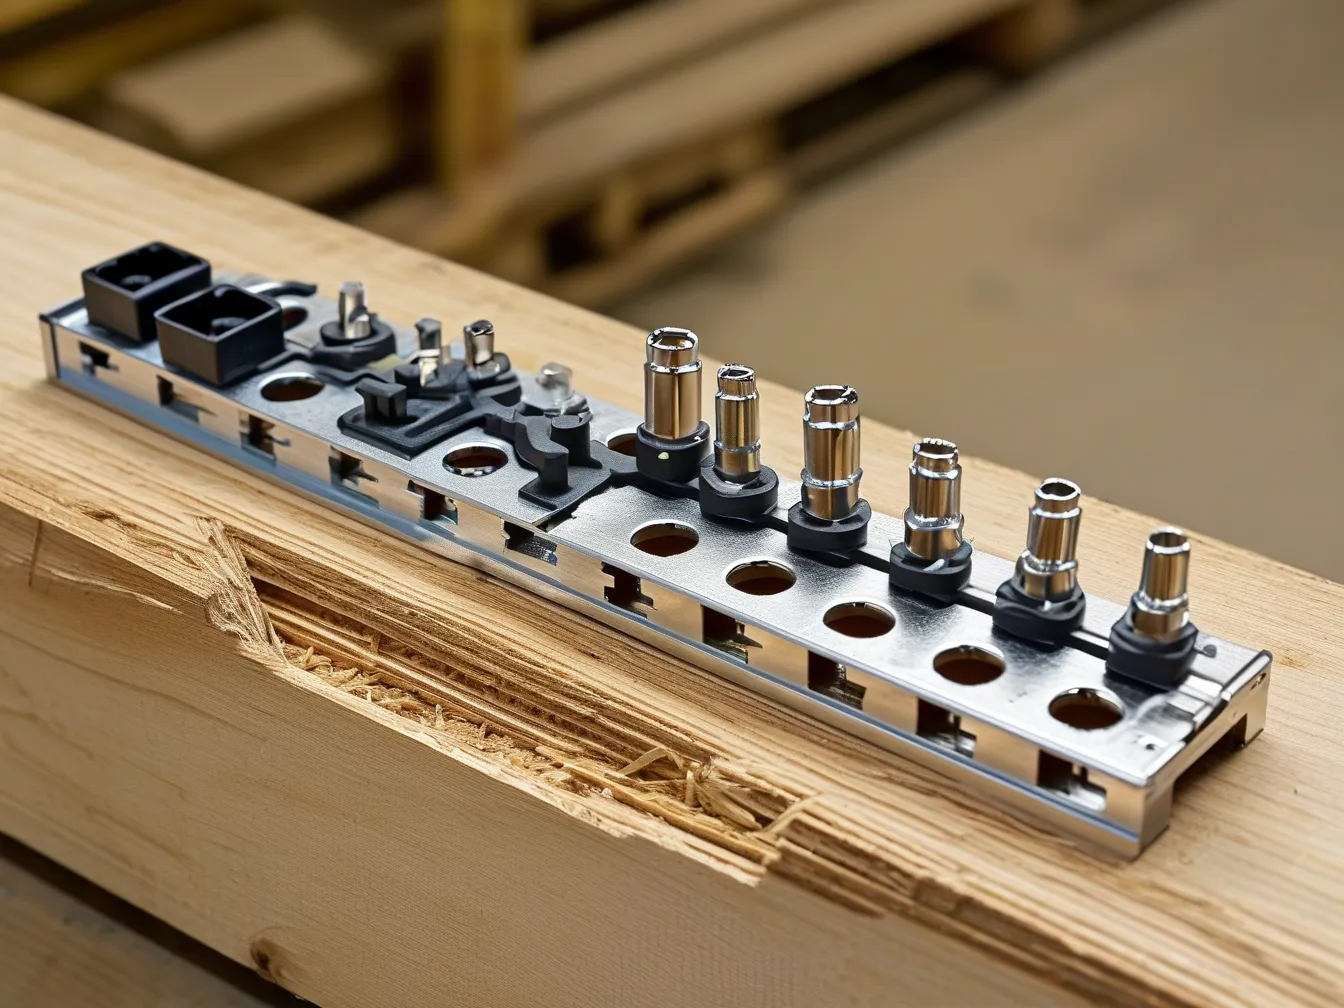
When tackling heavy-duty wood and metal projects, the right fastening solution can mean the difference between a structure that withstands decades of use and one that fails under pressure. 2×4 connectors have become indispensable for builders and DIYers seeking reliable, code-compliant connections – but their full potential often goes untapped due to improper selection or installation.
Why 2×4 Connectors Matter in Structural Applications
Modern building codes (IRC 2021 Section R602.6) mandate specific connection requirements for load-bearing structures. According to a Simpson Strong-Tie engineering report, properly installed connectors increase joint strength by up to 300% compared to nails alone. These L-shaped metal brackets excel at:
– Transferring shear loads in deck ledgers
– Reinforcing timber frame joints
– Creating earthquake-resistant connections
– Bridging wood-to-metal interfaces in hybrid structures
Choosing the Right Connector: 5 Critical Factors
-
Material Compatibility
– Hot-dip galvanized steel for exterior/exposed applications (ASTM A153 compliant)
– Powder-coated options for indoor metal-to-wood connections
– Stainless steel variants (Type 304/316) for coastal/marine environments -
Load Capacity
Always verify:
– Vertical uplift resistance (lbs)
– Lateral load rating (plf)
– Axial compression limits -
Fastener Specifications
The American Wood Council’s NDS guidelines recommend:
– 10d common nails (0.148″ x 3″) for most wood applications
– 1/4″ lag screws when connecting to metal substrates
– Washer-faced screws for vibration-prone environments -
Code Compliance
Look for ICC-ES evaluation reports confirming compliance with:
– IBC Chapter 23 (wood construction)
– ASCE 7-16 wind/seismic provisions -
Project-Specific Needs
Specialty connectors like:
– Adjustable angle brackets
– Flush-mount designs
– Multi-material adapters
Professional Installation Techniques
Step 1: Surface Preparation
– Remove oxidation from metal surfaces with 80-grit abrasive
– Treat wood surfaces with borate preservatives if required
Step 2: Positioning
– Use laser levels for critical alignment
– Mark fastener locations with center punch for metal
Step 3: Fastener Patterns
Follow manufacturer-specified spacing:
– Minimum edge distance: 1.5D (nail diameter)
– End distance: 3D
– Row spacing: 2.5D
Step 4: Torque Control
When using mechanical fasteners:
– 1/4″ lag screws: 35-40 ft-lbs torque
– 5/16″ bolts: 55-60 ft-lbs torque
– Use calibrated torque wrench with smooth engagement
Common Mistakes to Avoid
-
Material Incompatibility
Mixing galvanized steel with treated lumber without proper barrier systems leads to accelerated corrosion (ASTM G48 test shows 10x corrosion rate). -
Over-Driving Fasteners
A UW Madison study found that countersinking nails more than 1/8″ reduces hold capacity by 25%. -
Improper Load Pathing
Always consult engineering drawings – connector placement must align with force vectors.
Maintenance & Inspection Protocol
Implement a 6-month check routine:
1. Inspect for rust/corrosion using visual + tap test
2. Check fastener tightness with torque stripe markers
3. Monitor wood shrinkage (max allowable: 3% moisture differential)
4. Verify alignment with digital angle finder (±2° tolerance)
For complex projects exceeding residential loads, consult a licensed structural engineer. Manufacturers like Simpson Strong-Tie offer free engineering support – their technical bulletins provide valuable load calculation worksheets and installation videos verified by ICC-certified labs.
By combining code-compliant hardware with precision installation techniques, builders can achieve connections that not only meet but exceed safety requirements. Remember: in structural applications, every connection is a critical link in the chain of safety.

Leave a Reply